How to use NordVPN on iPhone
A practical, step-by-step guide to downloading, installing, and using NordVPN on an iPhone for secure browsing.
If you’re looking to protect your iPhone’s internet connection, NordVPN is a popular choice. This guide walks you through installing the app, turning on protection, and using common features on an iPhone. By the end, you’ll know exactly how to get NordVPN up and running with minimal fuss.
Comparison of NordVPN on iPhone vs. Other VPNs (Ease of setup)
| VPN | iPhone App Install | Sign In Required | Quick Connect | Server List Access | Kill Switch |
|---|---|---|---|---|---|
| NordVPN on iPhone | Yes | Yes | Yes | Yes | Yes |
| ExpressVPN on iPhone | Yes | Yes | Yes | Yes | Yes |
| Surfshark on iPhone | Yes | Yes | Yes | Yes | Yes |
| Private Internet Access on iPhone | Yes | Yes | Yes | Yes | Yes |
Compiled November 2026; check the provider's site for current details.
1) Install NordVPN on your iPhone
- Open the App Store on your iPhone.
- Search for “NordVPN” and select the NordVPN: VPN Fast Secure app.
- Tap the Get or Install button, then authenticate with Face ID, Touch ID, or your Apple ID as prompted.
- Once installed, tap Open to launch the app.
What you’ll need
- An active NordVPN account (or start a trial if offered).
- An internet connection to download and sign in.
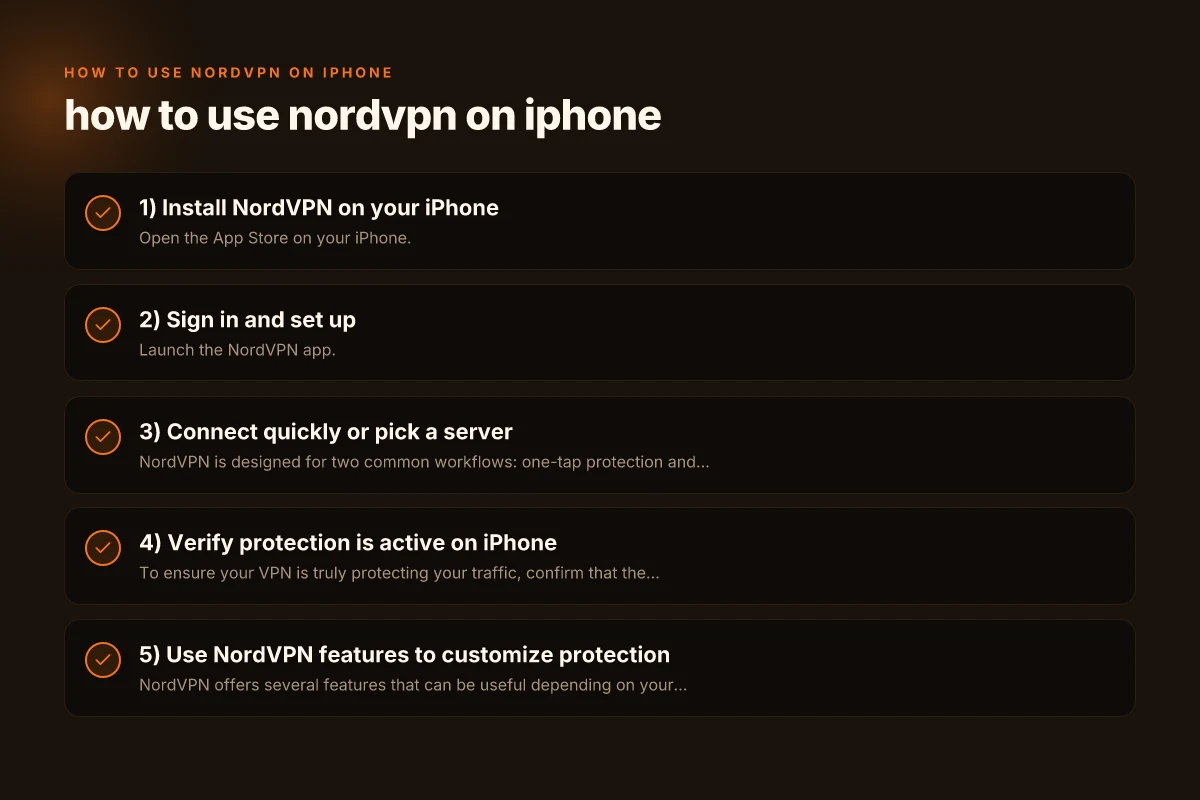
2) Sign in and set up
- Launch the NordVPN app.
- Sign in with your NordVPN account credentials.
- On first launch, you may be asked to allow protection to be added to your device. Grant the prompt so NordVPN can manage VPN configurations.
- The app may request permission to show notifications. You can enable or skip this based on your preference.
Tips
- If you already have a NordVPN subscription, you’ll use the same email and password you set up on other devices.
- If you forget your password, use the “Forgot password?” option on the sign-in screen.
3) Connect quickly or pick a server
NordVPN is designed for two common workflows: one-tap protection and manual server selection.
- Quick Connect: Tap the big “Secure my connection” or “Quick Connect” button in the app. NordVPN will choose a nearby and fast server automatically.
- Pick a server: If you want to connect to a specific location, tap the server list or the map. Servers are typically organized by country, with specialized options such as P2P or Onion over VPN, depending on your plan.
Server tips
- For streaming or gaming, choose a server geographically closer to you for lower latency.
- For accessing content in a specific country, select a server in that country.
- If one server is slow, try another in the same country or use Quick Connect again.
4) Verify protection is active on iPhone
To ensure your VPN is truly protecting your traffic, confirm that the iPhone’s VPN toggle is on and that NordVPN is connected through the app. How to turn off NordVPN on iPhone
- Open the iPhone Settings app.
- Look for a VPN section near the top. You should see NordVPN listed as connected.
- You can also check the status inside the NordVPN app. The main screen should indicate that you’re connected.
If you don’t see a VPN toggle or NordVPN listed as connected:
- Return to the NordVPN app and tap Quick Connect.
- Ensure you granted any required permissions in iPhone settings when prompted.
5) Use NordVPN features to customize protection
NordVPN offers several features that can be useful depending on your needs. Here are common ones and how to use them on iPhone:
- Kill Switch: If your connection drops, NordVPN’s Kill Switch blocks traffic to prevent data exposure. Enable this in the app’s Settings under the Kill Switch option.
- Named servers and specialty servers: Some plans include specialized servers (e.g., P2P, Onion over VPN). Find them by tapping the server list and selecting the category that fits your use case.
- Obfuscated servers (where available): Useful in restrictive networks. These servers are designed to hide VPN usage. Select them from the server list if you need access in high-censorship environments.
- Auto-connect options: In Settings, you can configure the app to connect automatically on startup or when joining unsecured networks (like public Wi-Fi).
Best practice
- Enable the Kill Switch if you frequently connect on public networks to prevent unprotected data leaks.
- Use Auto-connect on networks you don’t trust or when you’re often on the move.
6) Troubleshooting common issues
If you run into problems using NordVPN on iPhone, here are quick checks:
- Connection not establishing: Try Quick Connect again, or select a different server. If the issue persists, switch off the iPhone’s own VPN toggle in Settings, then re-open NordVPN.
- Slow speeds: Choose nearby servers or switch to a less congested server option in the app. Restart your iPhone if needed.
- App won’t load or crashes: Ensure iOS is up to date. Reinstall the NordVPN app from the App Store and sign in again.
- VPN disconnects frequently: Enable the Kill Switch if it’s not already on, and check your network stability. You may also try a different protocol within the app’s settings if supported.
Incidentally, NordVPN support articles and community forums can be helpful if a specific problem persists. How to turn off NordVPN auto connect
7) Comparing NordVPN on iPhone with other options
| Feature | NordVPN on iPhone | Competitor A on iPhone | Competitor B on iPhone |
|---|---|---|---|
| Quick Connect | Yes | Yes | Yes |
| Server variety | Large (country and specialty servers) | Moderate | Large |
| Kill Switch | Available | Available | Available |
| Auto-connect on unsecured networks | Yes | Yes | No |
| Obfuscated servers | Often available | Rare | Not standard |
Notes
- The exact feature set can vary by plan and app version. Always check the current app’s Settings menu for the latest options.
- If you rely on streaming, try a few different servers to find the best balance of speed and unblocked content.
8) Security and privacy basics on iPhone with NordVPN
- DNS protection: A VPN like NordVPN typically routes DNS queries through its own servers, helping prevent DNS leaks.
- IP masking: Your IP address is replaced by the VPN server’s IP, improving anonymity online.
- Data encryption: NordVPN uses robust encryption to protect data in transit.
- Logging policy: NordVPN emphasizes a no-logs policy, but it’s wise to review the current policy if privacy is critical to you.
A note on iPhone-specific considerations
- iOS is designed with strong default privacy and security controls. Using a reputable VPN app adds a layer of protection, especially on public Wi-Fi or untrusted networks.
- Always keep the VPN app updated to benefit from the latest security patches and features.
Troubleshooting Paths for NordVPN iPhone
| Issue Type | Quick Checks | In-App Guidance | Logs / Data Collected | When to Contact Support |
|---|---|---|---|---|
| Connection fails | Check network; Reconnect | In-app diagnosis | Connectivity status | If persists > 5 min |
| Slow speeds | Switch server; Avoid busy times | Suggested servers | Bandwidth metrics | If cannot find fast server |
| App won't open | Reinstall app | Reinstall prompts | Crash reports | If reinstall fails |
| VPN not active / IP leak | Verify protection is on | Shield/Protection toggle | IP status check | If leak suspected |
Compiled November 2026; check the provider's site for current details.
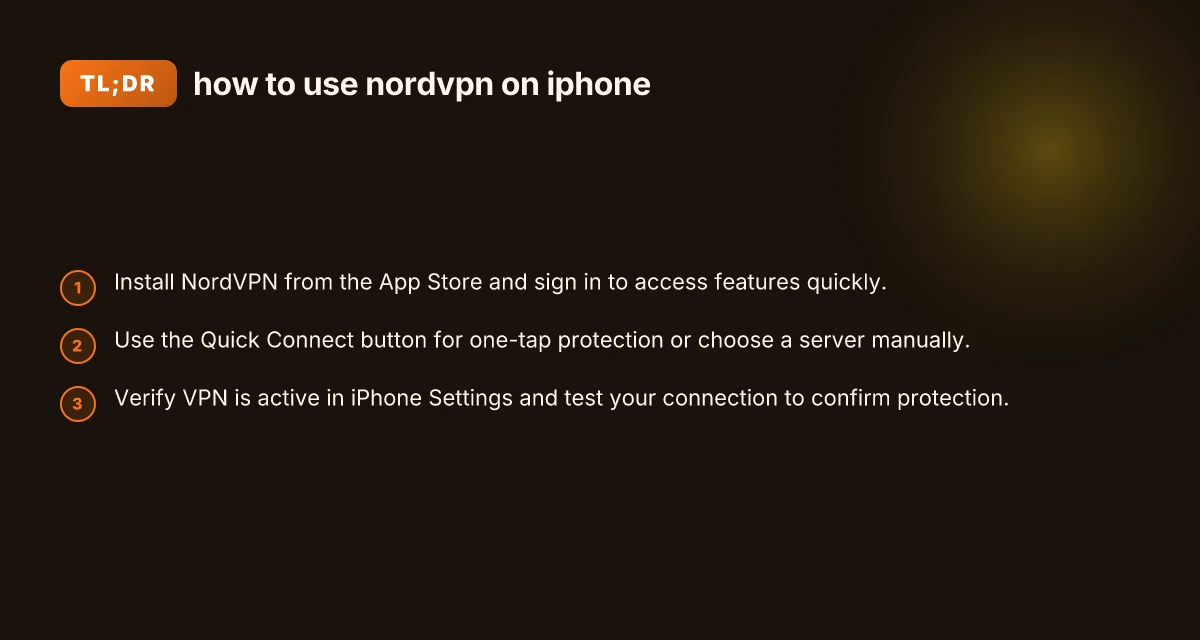
9) Quick-start recap
- Install NordVPN from the App Store.
- Sign in and grant necessary permissions.
- Use Quick Connect for instant protection or pick a preferred server.
- Verify the VPN is active in iPhone Settings and in the NordVPN app.
- Explore Kill Switch, auto-connect, and specialty servers as needed.
- If you encounter issues, check connectivity, try different servers, and consider a reinstall or contacting support.
Recommendation How to turn off auto connect NordVPN
If you’re new to VPNs on iPhone, start with Quick Connect to experience immediate protection without tinkering with settings. Once you’re comfortable, customize your experience by enabling Auto-connect on unsecured networks and turning on the Kill Switch for extra safety. Regularly review server options to find the best balance of speed and access to the content you want. NordVPN’s iPhone app is designed for simplicity, but its most valuable features come into play once you customize it to your typical network environments.
| VPN | From / month | Plan | Free plan | Refund | Alipay | UnionPay | Crypto | Website opens in China | Trustpilot | |
|---|---|---|---|---|---|---|---|---|---|---|
 NordVPN | $3.49/mo | 27 months: $94.23 | No | 30 days | ? | ✗ | ✓ | ✓ | ✗ Blocked | 4.2/5 (51,628 reviews) |
 ExpressVPN | $3.00/mo | 28 months: $84 | No | 30 days | ✗ | ✗ | ✓ | ✗ | ✗ Blocked | 4.4/5 (29,706 reviews) |
 Surfshark | See site | See site | No | 30 days | ✗ | ✗ | ✗ | ✓ | ✗ Blocked | 4.3/5 (31,823 reviews) |
 Private Internet Access | $2.03/mo | 40 months: $81.2 | No | 30 days | ✗ | ✗ | ✗ | ✗ | ✗ Blocked | 4.2/5 (11,033 reviews) |
 ZoogVPN | $2.49/mo | 27 months: $59.99 | Yes | 7 days | ✓ | ✓ | ✓ | ✓ | ✓ Yes (2.5 s) | 4.2/5 (195 reviews) |
 Proton VPN | $2.99/mo | 12 months: $35.88 | Yes | 30 days | ✗ | ✗ | ✗ | ✓ | ✓ Yes (2.5 s) | 2.1/5 (1,040 reviews) |
 Astrill VPN | $12.50/mo | 24 months: $300 | No | See site | ✗ | ✗ | ✗ | ✓ | ✗ Blocked | 1.3/5 (110 reviews) |
 CyberGhost | $2.19/mo | 28 months: $61.32 | No | 45 days | ✗ | ✗ | ✗ | ✓ | ✗ Blocked | 4.0/5 (24,178 reviews) |
 PureVPN | $1.69/mo | 60 months: $101.55 | No | 31 days | ? | ✗ | ✗ | ✓ | ✓ Yes (2.6 s) | 4.4/5 (17,994 reviews) |
 AdGuard VPN | $2.99/mo | 24 months: $71.76 | Yes | 30 days | ✓ | ✗ | ✓ | ✓ | Official site blocked; our special link opens (2.3 s) | 4.3/5 (290 reviews) |
 Mullvad | $5.61/mo | €5/mo | No | 14 days | ✗ | ✗ | ✗ | ✓ | ✗ Blocked | 3.2/5 (192 reviews) |
 Windscribe | $5.75/mo | 12 months: $69 | Yes | See site | ✗ | ✗ | ✗ | ✓ | ✗ Blocked | 4.7/5 (13,355 reviews) |
 StrongVPN | See site | See site | No | 30 days | ✓ | ✗ | ✗ | ✗ | ✗ Blocked | 4.4/5 (2,695 reviews) |
 LightXtreme 闪连 | $7.08/mo | 12 months: $84.99 | Yes | 30 days | ✓ | ✓ | ✓ | ✓ | ✓ Yes (2.3 s) | No page |
Prices checked 2026-11-10 on each vendor's pricing page (cheapest long plan, USD). Check the vendor's checkout for the final price.
Payment methods checked 2026-11-10 on each vendor's payment pages: all 14 take cards and PayPal; ✗ = not listed, ? = the vendor's own pages disagree.
China access: whether the official website opens from mainland China networks (tests the website only, not the VPN connection). Last checked 2026-11-11 04:07 Beijing time.
Trustpilot score and review count checked 2026-11-10.