Home assistant yale: How to integrate Yale devices with Home Assistant for smarter security
A practical guide to connecting Yale locks, alarms, and smart devices to Home Assistant, with setup steps, integrations, and tips.
The world of home automation gets a lot more powerful when you can control compatible devices from a single interface. If you own Yale smart locks, alarms, or other Yale Home products, you can bring them into Home Assistant to create automations, scenes, and centralized monitoring. This guide walks you through the main Yale integrations available in Home Assistant, what they support, and practical tips to get you set up quickly and safely.
Understanding the Yale offerings and Home Assistant scope
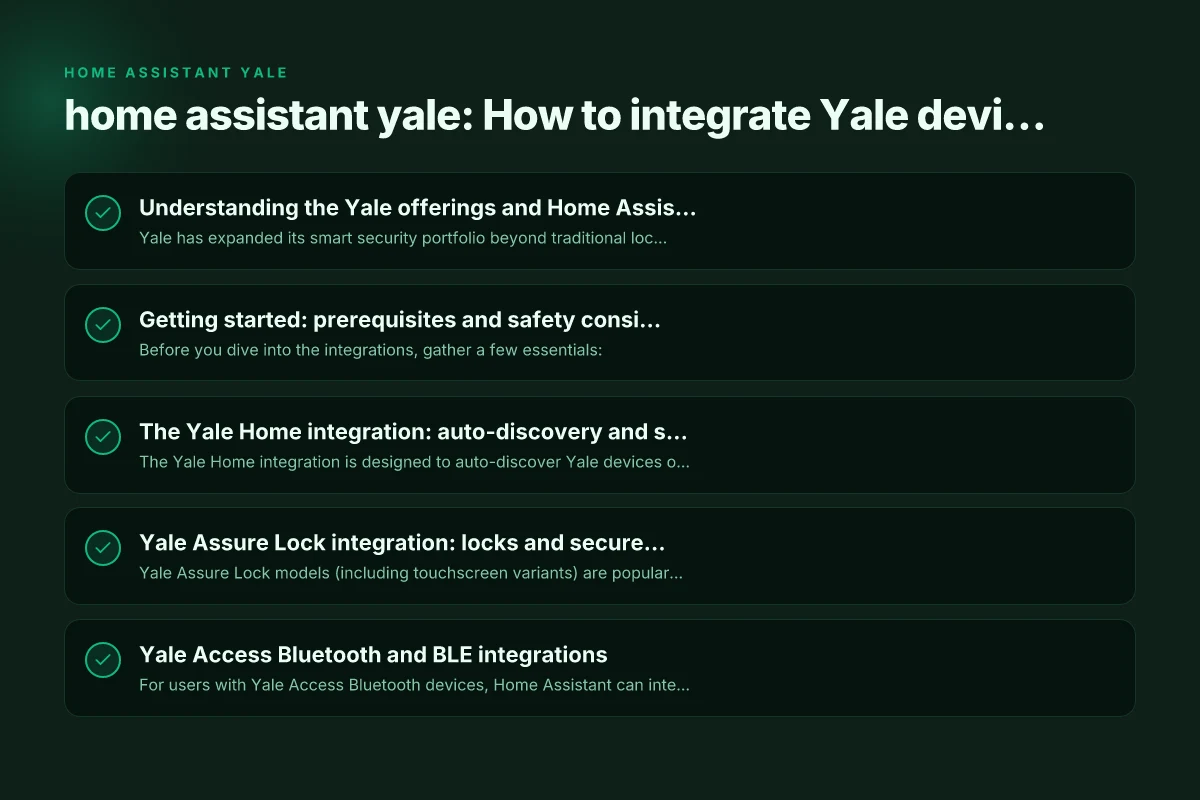
Yale has expanded its smart security portfolio beyond traditional locks to include alarms and other home protection devices. In Home Assistant, there are several distinct integrations, each serving different product lines and connection methods:
- Yale Home: This integration helps discover Yale devices that are compatible with Yale Home ecosystems. It may work with devices that encrypt or expose controlling APIs through the Yale Home platform.
- Yale Assure Lock: This refers to the family of smart locks (with or without keypads) that can connect to Home Assistant, often through a bridge, local network, or cloud tie-ins depending on the model.
- Yale Access Bluetooth (Yale XS BLE): For devices that you control via the Yale Access app over Bluetooth, Home Assistant can interface with the BLE bridge to reflect lock status and basic actions.
- Yale Smart Alarm: For Yale’s smart alarm range and hubs that pair with the Yale Home app and cloud services. This integration focuses on alarm panels, sensors, and arming/disarming logic.
- Yale Home/ Yale Smart Alarm in GitHub and community drives: Some community projects (like yale_smart_alarm) provide additional capabilities or updated flows when official docs lag behind real-world devices.
In short, you’ll typically pick one integration per device family, and you’ll decide how you want to connect (local, cloud, or BLE) based on latency, reliability, and privacy needs.
Getting started: prerequisites and safety considerations
Before you dive into the integrations, gather a few essentials:
- A Home Assistant instance that’s updated to a recent release. If you’re running Home Assistant OS or Home Assistant Supervised, the built-in Integrations page will list Yale options.
- Your Yale devices (locks, alarms, or other components) and the accounts needed to pair them. For cloud-based integrations, you’ll usually need a Yale account. For local BLE, you’ll pair differently.
- A stable network. For hard-wired bridges or hubs, ensure they’re on your LAN with good signal if using BLE.
Safety tips:
- Elevate security for remote access. Use strong authentication for Yale accounts and enable Home Assistant access controls and two-factor authentication where possible.
- Review permission scopes. Some integrations may require access to your Yale cloud account. If you prefer tighter privacy, consider local-only options or BLE where feasible.
- Back up automations. When you bring Yale devices into Home Assistant, you’ll often create automations that control door locks or alarm arming. Double-check your triggers and guard against accidental lockouts.
The Yale Home integration: auto-discovery and setup
The Yale Home integration is designed to auto-discover Yale devices on your network. If your Yale hub or devices are on the same network and compatible, you’ll see them appear under Discovered in Home Assistant. Best VPN for China travel
- How to use it:
- Open Home Assistant and navigate to Integrations.
- Look for Yale Home in the list or search for Yale Home.
- If discovered, follow the on-screen prompts to complete setup. This usually involves selecting the discovered device and authorizing the connection.
- What you typically get:
- Basic status visibility: open/closed state for locks, armed/disarmed for alarms, and battery status where supported.
- Basic control actions: lock/unlock, arm/disarm, and sometimes keypad arming modes.
- Limitations:
- Depending on the device and firmware, you may experience occasional delays or partial feature support. Some advanced configurations might still require the Yale app or cloud services.
Yale Assure Lock integration: locks and secure entry controls
Yale Assure Lock models (including touchscreen variants) are popular for Home Assistant users who want direct access control from a unified dashboard.
- Connection options:
- Local integration via a compatible bridge or hub (some models support bridge-based integration).
- Cloud-based control through Yale/ Yale Home accounts, which is common for newer locks.
- BLE-based control via Yale Access BLE for certain configurations and devices.
- Capabilities:
- Lock and unlock actions in automations.
- Status reporting: locked/unlocked, battery level, and inactivity alarms on the lock.
- Optional keypad features for arming modes in some setups.
- Practical tips:
- Ensure you disable auto-unlock features in the lock settings if you rely on Home Assistant for security-critical automation.
- Consider a time-based lock policy: only unlock for a limited window, then re-lock automatically to minimize risk.
- If you use BLE or cloud methods, check latency and reliability; BLE tends to be faster and can work without a cloud dependency.
Yale Access Bluetooth and BLE integrations
For users with Yale Access Bluetooth devices, Home Assistant can interoperate using the Yale XS BLE integration. This is a good fit for devices that don’t rely on a hub or cloud platform and maintain a direct BLE connection to your control hub.
- How it works:
- The integration taps into BLE advertisements from Yale Access devices or uses the Yale XS BLE bridge to expose device data in Home Assistant.
- You’ll see statuses for doors, locks, and sensor states that are exposed over BLE.
- Pros and cons:
- Pros: Local-ish control, reduced cloud dependency, potentially lower latency.
- Cons: BLE range is limited. You’ll need devices within BLE range of the Home Assistant host or BLE bridge. Insurance of battery status and some advanced features may vary by model.
- Setup tips:
- Ensure your Home Assistant host has a reliable BLE adapter and is not blocked by other BLE-heavy devices.
- Pairing and provisioning steps often require the Yale Access app in the initial setup. After that, you can manage from Home Assistant.
- Confirm firmware compatibility. Older devices or certain models may have limited BLE support.
Yale Smart Alarm: integrating protection and sensors
Yale Smart Alarm is a modern security ecosystem with its own hub and sensor lineup. The Home Assistant integration for Yale Smart Alarm connects the hub and its sensors to Home Assistant for unified automation.
- Features typically supported:
- Arming and disarming via automations or Siri/Alexa-like commands through Home Assistant.
- Sensor state reporting: door/window sensors, motion sensors, and siren status.
- Event history visibility for alarms and alerts.
- Setup overview:
- Install the Yale Smart Alarm integration from Home Assistant’s Integrations page.
- Input necessary credentials or authorize via the Yale Home/Yale app as required by the specific integration.
- Map sensors and zones in Home Assistant, then create automations (e.g., notify when a sensor triggers, arm the system at bedtime, disarm on presence).
- Practical automation ideas:
- When you leave the house, automatically arm Stay or Away mode if doors and motions are clear.
- If a sensor is tripped while you’re away, trigger a notification and trigger lights or cameras.
- Integrate with presence detection to disarm when you return home.
A practical comparison: which Yale integration should you use?
Below is a quick guide to help you choose the right integration path for Yale devices in Home Assistant. This is not a definitive replacement for the manufacturer’s app, but it helps you weigh options.
- Yale Home
- Best for: Auto-discovery, simple setups, devices compatible with Yale Home ecosystem.
- Pros: Quick start, fewer manual steps.
- Cons: Feature depth can be limited for advanced automations.
- Yale Assure Lock
- Best for: Smart locks with direct control inside Home Assistant.
- Pros: Direct control over locks, robust automation possibilities.
- Cons: Some models may require a bridge or cloud integration depending on hardware.
- Yale Access BLE (Yale XS BLE)
- Best for: Local BLE setups with minimal cloud dependency.
- Pros: Lower latency, privacy-friendly approach for BLE devices.
- Cons: BLE range and compatibility constraints. Not all features supported for every device.
- Yale Smart Alarm
- Best for: Full alarm integration, sensor status, and automation across alarms and entry points.
- Pros: Centralizes alarm management. Rich automation potential.
- Cons: Setup can be more complex. Ensure firmware compatibility.
Table: Quick feature snapshot Voot VPN: How to Watch Voot Anywhere with a VPN in 2026
| Integration | Typical connection | Key capabilities | Best use case |
|---|---|---|---|
| Yale Home | Local discovery / cloud bridge | Status, basic controls | Quick setup for compatible devices |
| Yale Assure Lock | Local or cloud (model-dependent) | Lock/unlock, status, keypad modes | Smart lock automation and access control |
| Yale Access BLE | BLE bridge or host BLE | Status, limited controls | Private, low-latency local control |
| Yale Smart Alarm | Cloud or hub integration | Alarm arming, sensor states, events | Central alarm automation and monitoring |
Common pitfalls and troubleshooting tips
- Device discovery not appearing: Ensure devices are on the same network segment as your Home Assistant instance. Check that any required bridges or hubs are powered and connected.
- Delayed response to lock/unlock: Some integrations rely on cloud services or BLE range. Try BLE if available or verify bridge performance. Ensure the lock firmware is up to date.
- Incomplete sensor data: If some sensor states aren’t visible, re-check permissions within the Yale account or re-run the integration setup to re-map the devices.
- Security concerns: If you’re connecting via cloud-based methods, consider enabling two-factor authentication on your Yale account and limiting automation access in Home Assistant.
- Battery warnings: BLE devices and sensors often report battery status, but some models may require periodic refresh or battery replacement to maintain accuracy.
Practical examples: sample automations you can build
- Secure nighttime routine:
- Trigger: 11:00 PM
- Actions: Lock the Yale Assure Lock, arm Yale Smart Alarm to Away, turn off living room lights, enable door sensors notification.
- Return home automation:
- Trigger: Arrival detected (presence or geofence)
- Actions: Disarm alarm, unlock entry if doors are closed, bring up camera feeds, and set a preferred light scene.
- Door left open alert:
- Trigger: Door sensor open for more than 2 minutes
- Actions: Notify, sound a local alert, escalate to a notification on your phone or smartwatch.
Final recommendations: how to proceed
If you’re starting fresh with Yale devices in Home Assistant:
- Start with Yale Home for easy auto-discovery if you have compatible devices already registered with Yale Home. This provides a straightforward path to basic control and state visibility.
- For robust access control and lock management, add Yale Assure Lock integration where your lock hardware supports it. Plan for potential bridge or cloud requirements depending on model.
- If you prioritize privacy and low latency, explore Yale Access BLE where supported, ensuring your Home Assistant host has a good BLE adapter and coverage in your space.
- For comprehensive security automation, pair Yale Smart Alarm with Home Assistant to manage sensors, arming modes, and alerting in one place.
Once you pick the integration path, document your automations and make a small set of core routines first. Build out more automation gradually, testing each step to ensure you’re not locking yourself out or triggering false alarms.
If you want a recommended starter setup:
- Install Yale Home for discovery to confirm what devices are visible and controllable without heavy configuration.
- Add Yale Assure Lock integration for door access control and basic automation.
- If you have a Yale Smart Alarm, set up the Yale Smart Alarm integration and experiment with a simple arming rule tied to your presence and routine times.
- Optionally experiment with Yale Access BLE for a battery-lightweight, local control experience on devices that support it.
By gradually expanding from discovery to more integrated automations, you’ll maximize the value of your Yale devices within Home Assistant while maintaining reliability and security.
If you’d like, tell me your exact Yale model lineup and which Home Assistant setup you’re using (Home Assistant OS, Supervised, or a container), and I’ll tailor a step-by-step setup plan with specific integration pages and example automations to match your hardware. Google nest doorbell camera iPhone: how to use Google Nest with iPhone